RockPi-S-V10 Wiki
Getting Started
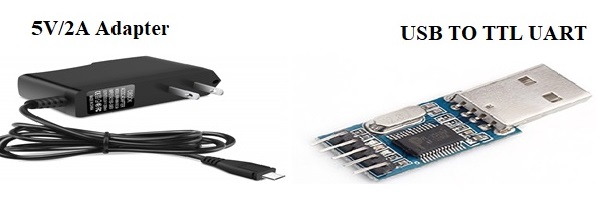
Hardware Required:
Software Required:
- picocom
To install the software run the following command:
sudo apt-get install picocom
Flashing the image
You can flash the image using either:
- Commandline
- GUI
Using commandline
unzip Rockpi-s-v10-shunya-console-image-0.1.zip
cd Rockpi-s-v10-shunya-console-image-0.1
If you are using a built in Memory card reader then use the command below:
sudo dd if=shunya-console-image-rockpi-s-v10.img of=/dev/mmcblk0 status=progress
OR
If you are using a USB SD-Card adapter use the command below:
sudo dd if=shunya-console-image-rockpi-s-v10.img of=/dev/sdx status=progress
Note
Please replace x in /dev/sdx with your device(eg /dev/sdb)
Using GUI
- Step 1:Right click on the zip file downloaded and select Extract here
- Step 2:Once the image is unzipped double click on the unzipped image folder in which you will find the image and release info
- Step 3:Right click on the image
- Step 4:Select Open with -> Disk image writer
- Step 5:Choose Destination as SD Card Reader
- Step 6:Enter your password
Accessing the system using serial console
Steps:
- Insert the SD card into the board
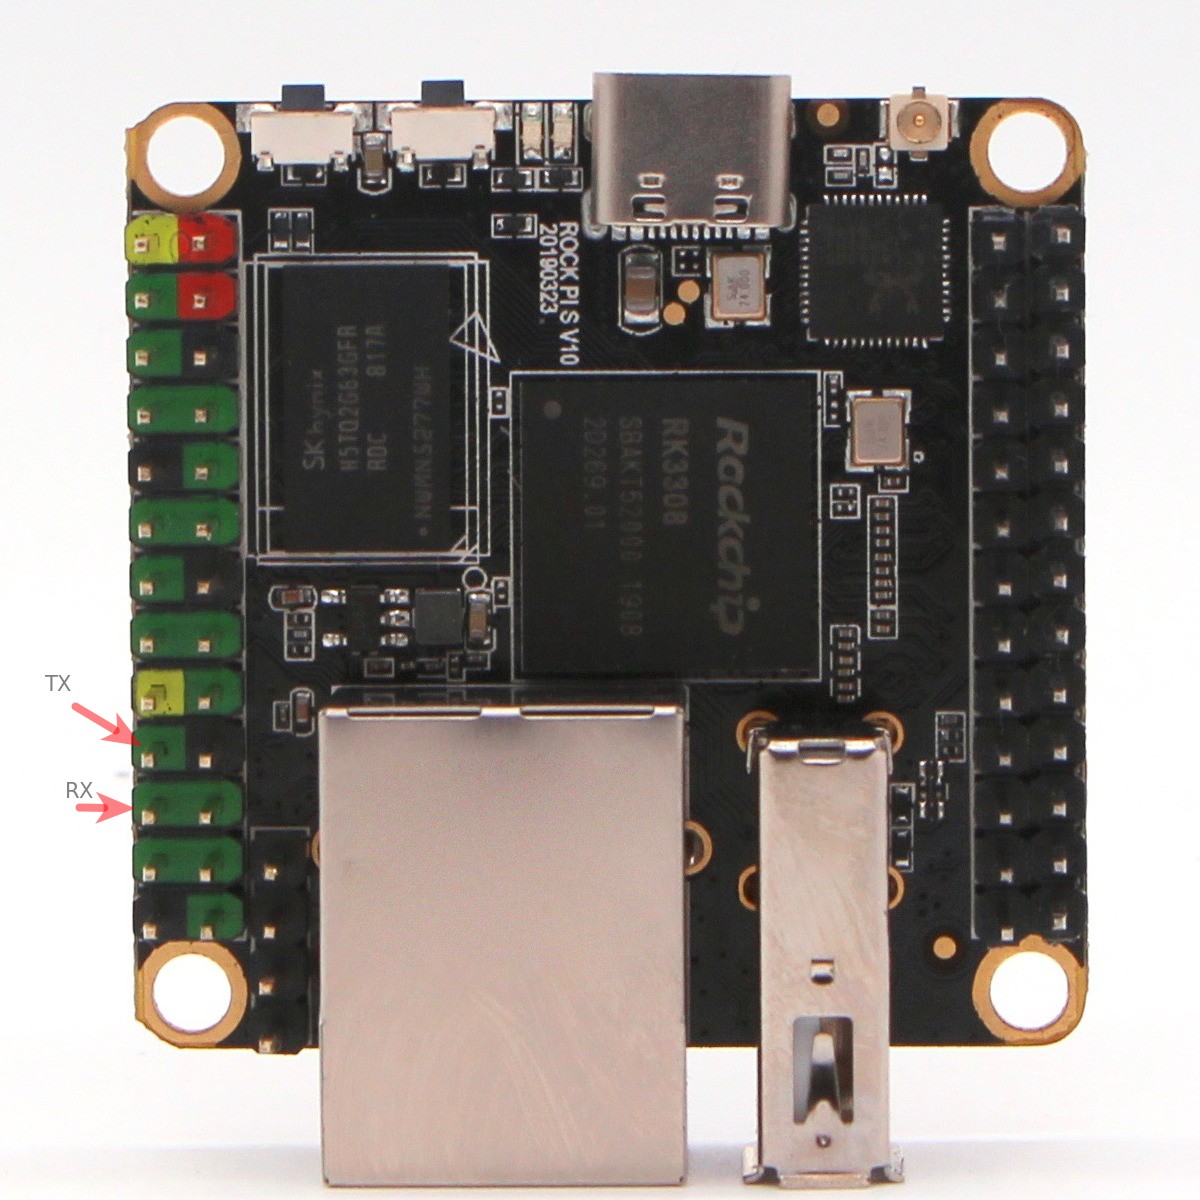
- Connect the USB to TTL device between the board’s debug UART(pin 19 TX and pin 21 RX) and the computer/laptop
- Start picocom on your laptop/board using the command below:
sudo picocom -b 1500000 /dev/ttyUSB0
- Power on the board with the help of 5V/2A power supply
Note
Congratulations! You are now booting your newly installed Shunya OS directly on RockPi-S-V10!