Raspberry-Pi-4 Wiki
Getting Started
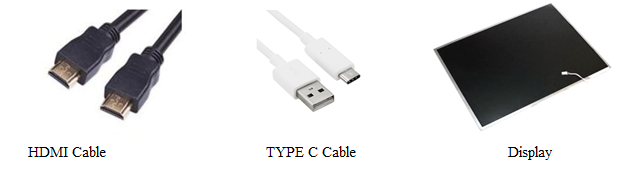
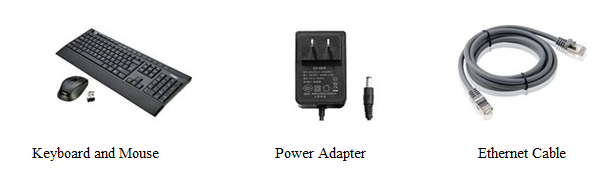
Hardware Required:
Flashing the image
You can flash the image using either:
- Commandline
- GUI
Using commandline
unzip RaspberryPi4-shunya-xxxx-image-0.1.zip
cd RaspberryPi4-shunya-xxxx-image-0.1
Note
Please replace xxxx with desktop or console dependending on the image you downloaded
If you are using a built in Memory card reader then use the command below:
sudo dd if=shunya-xxxx-image-raspberrypi4.img of=/dev/mmcblk0 status=progress
OR
If you are using a USB SD-Card adapter use the command below:
sudo dd if=shunya-xxxx-image-raspberrypi4.img of=/dev/sdx status=progress
Note
Please replace x in /dev/sdx with your device(eg /dev/sdb)
Using GUI
- Step 1:Right click on the zip file downloaded and select Extract here
- Step 2:Once the image is unzipped double click on the unzipped image folder in which you will find the image and release info
- Step 3:Right click on the image
- Step 4:Select Open with -> Disk image writer
- Step 5:Choose Destination as SD Card Reader
- Step 6:Enter your password
Using a Camera on Raspberry-Pi-4
Using GStreamer
To record a video in the avi format use the following command
gst-launch-1.0 v4l2src ! avimux ! filesink location=filename.avi -e
To record a video in the mkv format use the following command
gst-launch-1.0 -e v4l2src ! videoconvert ! matroskamux ! filesink location=filename.mkv
Note
Device number might change so be careful.
Using FFMPEG
To install ffmpeg use the following command:
sudo apt install ffmpeg
To check the index of the USB use v4l-utils.You can install it and get the index using the commands below:
sudo apt install v4l-utils
v4l2-ctl --list-devices
To record a video using ffmpeg the following command can be used:
ffmpeg -i /dev/video0 filename.avi
OR
ffmpeg -f v4l2 -video_size 640x480 -i /dev/video0 -c:v libx264 filename.mp4
Sound on Raspberry-Pi-4
Sound recording and playback is tested using a USB Mic and a Speaker connected to USB Sound Adapter.
Note
Device and card numbers might change so be careful.
Sound Recording
To list the recording devices you can use this command:
arecord -l
To record a wav file you can use the following command:
arecord -vv -Dplughw:1,0 -f dat filename.wav
Sound Playback
To list the playback devices use this command:
aplay -l
To playback a wav file from the Speaker connect to USB Sound Adapter use the following command:
aplay -vv --device=hw:0,0 filename.wav
OpenCV on Raspberry-Pi-4
Install OpenCV-3.3
sudo opkg install python3-opencv
Test OpenCV-3.3
1 2 3 4 | sudo opkg install git
git clone https://github.com/shunyaos/object-recognition-dnn.git
cd object-recognition-dnn
python3 detect.py
|
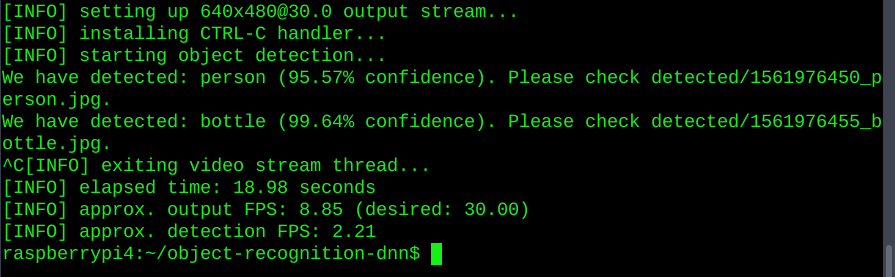
Test Outcome
Release info
Shunya O/s Version: 0.1-Beta
Kernel Version: 4.19.50
Bootloader: U-BOOT
Desktop Environment (if applicable): XFCE